8 Easy Steps for Installing Window Air Conditioner
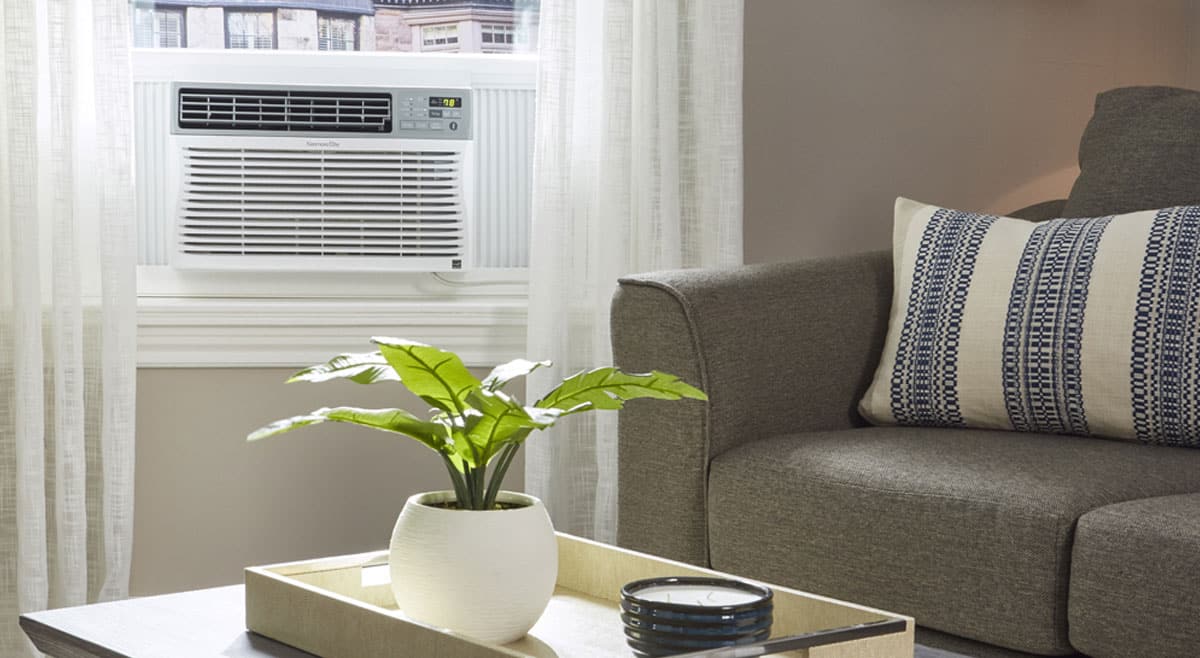 Source: Window Air Conditioner
During this age of global warming, the hot summer season can be unbearable. In such summer heat, air conditioning is indeed a blessing for all of us. The cold air from a window AC unit allows completion of our everyday tasks without suffering the headaches and dullness that the heat usually brings.
Remember spending hours to research and buy the right window air conditioner? Gear up. It’s time to get that piece of machinery running. There are a lot of things that can go wrong with air conditioning, making it difficult to relax even after its installation. Avoid those worries by following our instructions on how to install a window air conditioner at your house like a pro.
Before You Begin:
- Choose a window that offers easy access to a three-prong plug.
- If possible, have a dedicated socket for your air conditioner to avoid the circuit from overloading and tripping.
- Clean the windowsills and channels with a vacuum and blower before installation.
- Try to install your unit during the daytime so that you can have a clear view of what you are doing and can avoid any mishaps.
Get Started
Installing a window air conditioner yourself is pretty simple. You don’t need to be a professional for this, but you must do it safely. For that, follow these step by step instructions. You’ll feel like an expert installer by the end of this article, so let’s dive in.
First of all, collect all the essential tools, so you don’t have to run around to find them during the installation process. Those tools will include the following:
- Measuring tape
- Hammer
- Screws
- Screwdriver
- Level
- Drill
- Mounting brackets
- Any weatherproof sealant
- Caulking gun
- And a window air conditioner (obviously)
Step 1: Dimensions
Different models of window air conditioners have different dimensions, just like windows can be different sizes. You have to be sure that the AC unit fits your window well. So before buying, measure the size of the window. The exact specs for an AC unit can be found on its packaging or in its user manual.
Step 2: Apply the weather seal
First, install the top mounting rail, flanges, or wings according to the guidebook directions with the provided screws.
Next, to ensure efficient cooling with a window AC unit there should be no gaps left between the unit installation and the window. For this, apply a weather seal to the top and bottom edges of the window. This step also prevents dust and bugs from entering through a gap.
Weather Sealing Tip:
- Cut the weather strip with scissors or a knife to adjust the measurement to fit your window.
Step 3: The Side Curtains
Most window air conditioners have sliding curtains or accordion panels that fill the side openings. In some models, they are pre-attached; in some, you need to slip them into the rails on each side of the air conditioner. If your model requires the curtains, attach them as per the guidelines in the manual as it may vary from model to model. Once the curtains are in place, you can move to the next step.
Placing Side Curtains Tips:
- It’s best to attach the side curtains or accordion panels before placing the AC unit in the window.
- These extensions are labelled left and right, so attach accordingly.
Step 4: The Mounting Bracket
Few AC units fit perfectly in a window. When there is need for more support for the unit, installers use brackets that attach to the windowsill. If your AC needs these brackets, install them first.
Bracket Mounting Tip:
- Use metal screws for metal frames and wood screws for wood or vinyl frames.
Step 5: Install the Air Conditioner
Without Bracket: Take precise measurements of your window from sides and mark the center. Lift the unit and place it on the windowsill. Be sure to put it on the center mark.
With Bracket: Set the air conditioner unit into the support bracket. Position the unit well on the bracket. Keep pushing it back until the top edge of the unit reaches the pane. Install the unit on the support brackets by securing it with screws.
Installation Completion Tips:
- At this point, grab a helping hand to lift the air conditioner and set it right into the window.
- Install the unit with a slight slope towards the outside to allow the drainage water flow outside.
Step 6: Fit the Curtains
Close the window sash to fit it securely into the rail on top of the unit. Pull out the curtains to fill the window area on the sides of the unit. Use the drill to secure the sides by screws.
Step 7: Insulate the curtain panels
Measure the dimensions of the curtain panels and cut the insulating foam sheets as per the size. Now, apply them to the side extensions and seal it.
Step 8: Check and secure
Check the spaces where the window and unit meet. Use the screws or lock brackets and attach the sides of the unit to the window frame to make it safe and sound.
- Always use some help you carry and fit the unit and make the job easier and finish it quickly.
If you follow these steps, your window air conditioner will be safely installed and ready to use. All that’s left to do is plug it into the wall to enjoy the cool air all summer long!