Easy Steps for DIY Window Cleaning
 Source: Window Cleaning
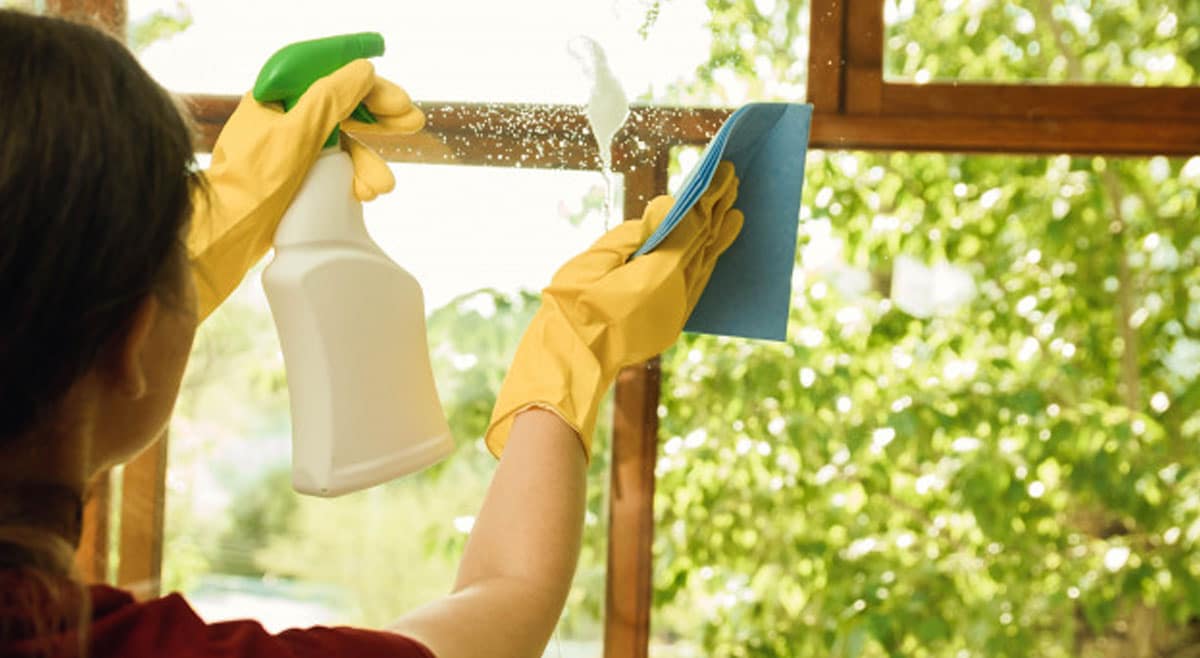
The natural light of the brightening day streaming through a window makes us feel fresh and boosts our productivity. However, over time dirt and dust may gather on your windows and make the natural lighting dull and gloomy. Regular cleaning is necessary for window maintenance and to keeps its glass shiny and sparkly. Cleaning your glass and window surfaces often keeps your vinyl windows opening and closing smoothly, lets light in and blocks drafts out.
Cleaning windows is considered as a bothersome job by some people, but the simple truth is that window cleaning is pretty straightforward. If you are wondering about the ‘How,’ read on for a step-by-step guide to DIY window cleaning and tips that can save your windows from possible damages.
How to Clean Your Windows
Pick up and gather the right tools
 Source: Cleaning Tools
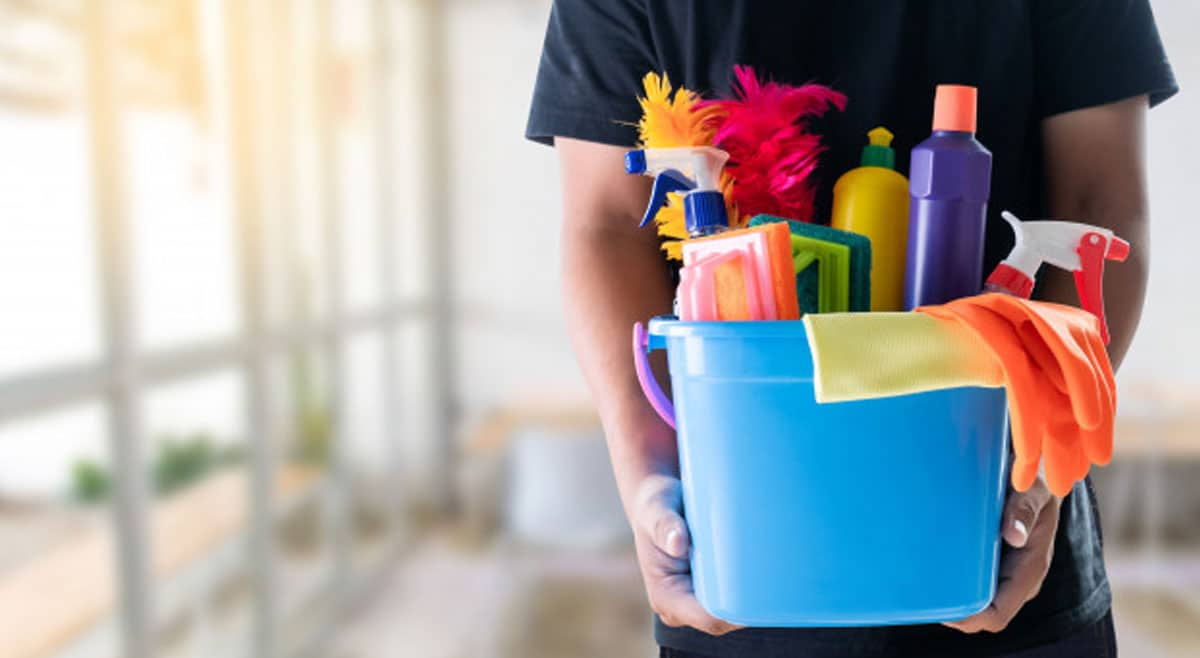
House-cleaning specialist share a list of tools needed to clean a window correctly and their secrets to make cleaning fast and easy. It all starts by assembling the right tools before you begin to avoid needless trips back and forth to your basement or garage.
To clean your windows yourself, you’ll need the following tools:
- Bucket: Choose a bucket broad enough to fit a window-cleaning squeegee.
- Window-Cleaning Squeegee: This is an often underestimated but useful tool. It comes in various sizes, quality, and price, but experts believe that it is essential to select the one that is best suited to you.
- Gloves: You need waterproof gloves to keep your hands dry against the water, soap, and again water used in washing windows.
- Clean Towel: Cleaning professionals advise using a microfibre cloth that is used only for glass surfaces. However, you can also use a soft and worn old towel that does not leave any marks on the window.
- Vacuum Cleaner: To vacuum the excess dust on the sides of windows.
- Cleanser/ Detergent/ Soap Powder: If you have to handle old, stubborn stains, money is well spent on a quality solution strong enough to clean your window efficiently. Or use a homemade window cleanser made by mixing vinegar and dish-washing liquid.
- Ladder: You might have to reach even to the heights for which a ladder and long handle for the squeegee is necessary.
When you are finished collecting everything from the list, you can jump to the next step.
Important Note: Early morning or late afternoon is a better option to clean the windows. Never clean windows in direct sunlight as the cleaning solution may dry too quickly and leave marks.
Prepare the windows first
Begin with thoroughly inspecting the windows and shutting the curtains. You might find spider’s webs, a dead bug, or dust. Clear those from the window first, and root out any dried leaves too – you don’t have to wreck your cleaning efforts later. Remove the dirt and debris with a vacuum cleaner that has a soft dusting brush that prevents damaging the surrounding area – better to deal with these barriers right away before starting the washing.
Make a reliable cleaning solution
If you don’t want to buy a specialized and labelled window cleaner, you can make one yourself. The great news is that you have everything you need right there in your kitchen.
For a handmade window cleaning solution, mix three cups of distilled or filtered water, a half cup of white vinegar and a tablespoon of dishwashing liquid. If you want to cut the vinegar smell, you can add some drops of your favorite essential oil to give a pure fragrance to your home. Another homemade cleanser option is to mix lemon juice with lukewarm. Both of these simple DIY mixtures can do wonders.
Start Cleaning!
-
Start by wetting the windows and washing them simultaneously on the inside and outside to cut corners. Lukewarm water dries quickly, so if possible, use cold water for cleaning. Use warm water only if you want to remove some particularly stubborn stains.
-
Apply the cleaning solution directly to a wet cloth or dip a scrub brush into the bucket of solution and swab the windows until all the dust is removed.
-
Wipe the windows with circular movements rubbing firmly to remove built-up pollution, dust, or grit. Don’t brush or press too much – avoid scratching the glass by soaking stains.
-
Once you have removed all the dirt, the squeegee comes into the picture to get rid of the water. Starting from the top, pull the squeegee from side-to-side and work your way down to the bottom.
-
Wipe the edges to remove all remaining moisture and residue. Even if you are cautious, marks can still appear. Use a different clean, dry cloth or old linen napkins to dry the windows.
-
Use old towels to soak the spilled water off the windowsill or the tiles, so the excess water doesn’t wind up on your floor. After the towel, you may have to clean the surface with microfibre cloth again.
-
Lastly, inspect the surface thoroughly for any remaining spots and go over them with a clean cloth one last time.
Ta-da! Perfectly clean windows with so little effort!
Window Cleaning prolongs the lifespan of your windows and enhances the charm of your home. So, what’s holding you back? Follow these steps to enjoy crystal-clean windows. Go ahead and give your home a feel-good sparkle today!