Window Screen Replacement or Repair
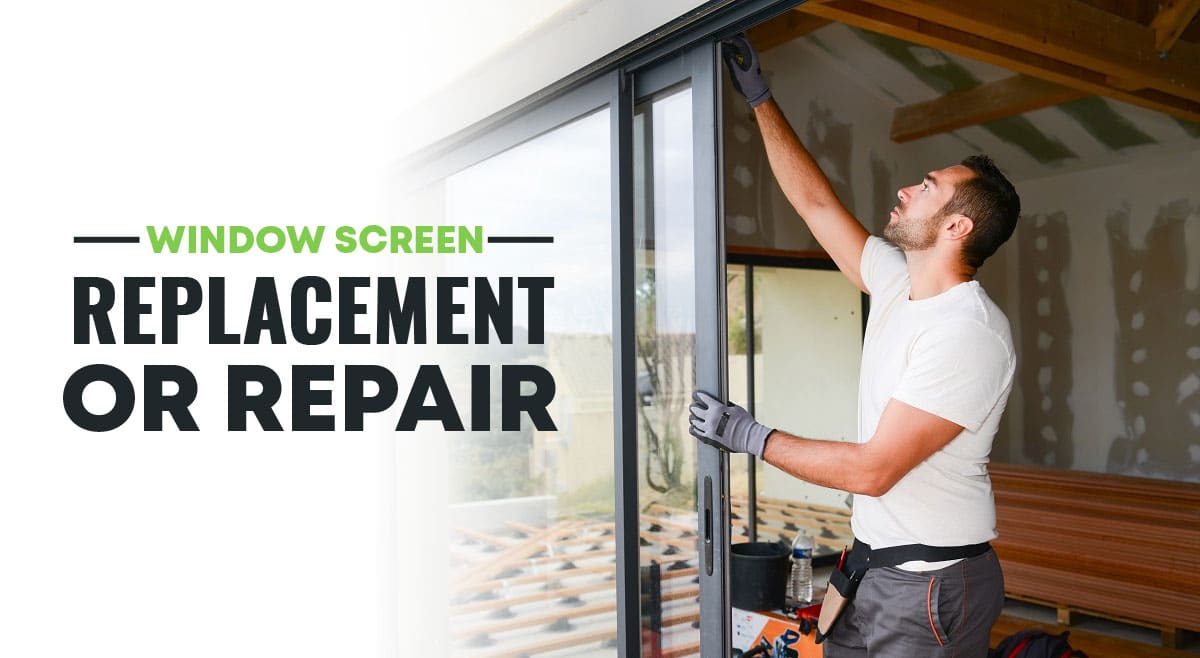
Window screens are needed to maintain airflow while avoiding the invasion of insects. Screens serve as a barrier and prevent unwanted intrusion of all types of insects that can fly or crawl into your porch, while still allowing you to enjoy the view. Not only that, but screens also reduce the damage caused by water and keep the dust at bay. And a result, the window doesn’t look grungy.
Window Screen Material
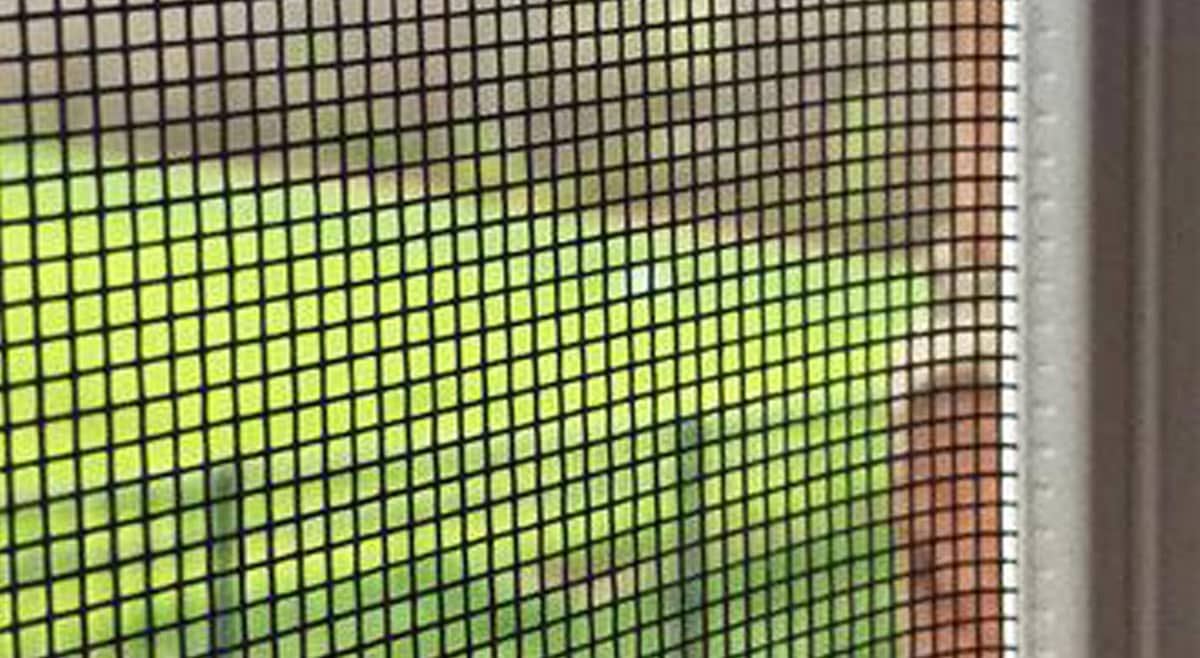
Standard fiberglass is the most popular window screen material, as it is flexible, economical, and easy to install. Plus, it doesn’t crease or dent and remains intact for a longer time. Another option, aluminum wire window screens are also durable and strong, but they do require protection from corrosion.
Even though both types of screens are durable, it’s probable that over time you may encounter a tear or other damage. There is no need to worry because this doesn’t necessarily mean you need a replacement right away. Some of the problems can easily be fixed without any expert help.
Window Screen Repair DIY
One of the most common problems is an unwanted hole or tear in the screen. It’s quite easy to fix small holes in the window screening and generally won’t require removing it. Here are some easy DIY instructions to fix minor holes depending on the screen material:
- Vinyl/fiberglass screen – Apply nail polish to the hole to seal the damaged area.
- Metal/fiberglass screen – A dab of clear silicone adhesive or maybe multiple layers would fill most minor holes completely.
 Source: Dickey’s Glass
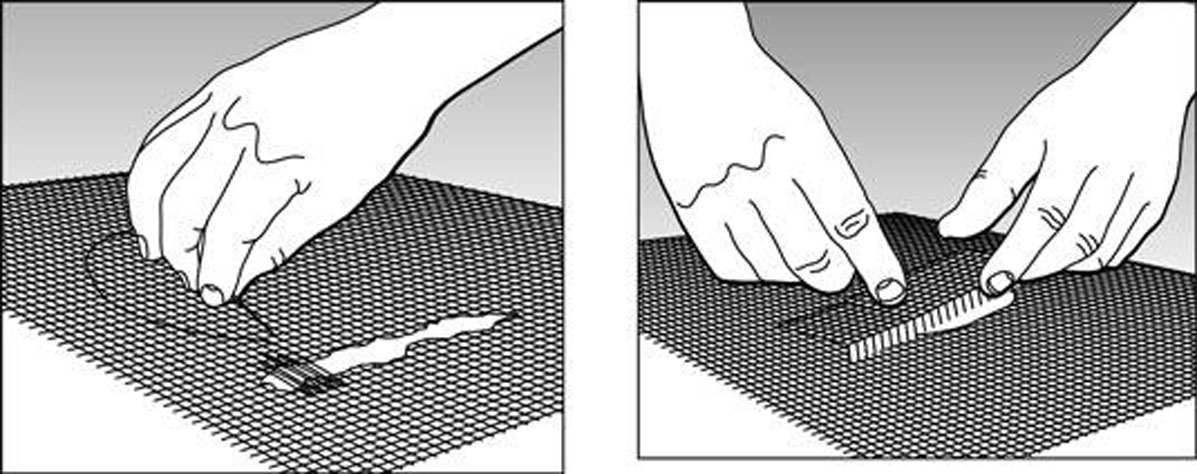
For larger holes, a piece of screening from a scrap material is ideal to cover it. For this you many need to remove the window screen.
- Fiberglass screens – a patch from a similar material can be used to cover the hole. Ensure that the size of the material is a bit larger than the hole, then stick it to the surface using silicone glue.
- Metal screen – With the help of some fabric and a needle, the hole can be sewed with some stitches after covering it with a patch of screen material.
Source: Dummies
Repair or Replace a Window Screen
Repairing a window screen is certainly cheaper than replacing it. Though for certain conditions, it is better to replace the screen. For minor damages, the screen should be repairable as long as the frame is in good shape. But if the frame isn’t in the right shape or the screen is too worn to repair, a replacement screen or window is what we recommend. Here is what you can check to determine if you should repair or replace the window screen –
- Size of the holes: Generally, holes that have a diameter of less than 3 inches can be patched. If the size is larger than 3 inches, not only is it hard to repair them, it may also defeat the purpose of the screen. Apart from that, the patch is quite visible and would directly impact the appeal of the window. A replacement is a more preferable option in this case.
- Number of holes: Several holes in the screen may mean the material is worn out. Though you may be able to fix the screen as a short-term solution, it won’t be good in the long term. Ultimately, the aging window screen should be replaced with a new one. As a bonus, the new window screen will look great, where a screen with a lot of patches will not.
- Condition of the material: This generally applies to the metal screen which is susceptible to corrosion. In the absence of timely application of a protective finish, the screen will be corroded and weakened. Check if the material is still corrosion-free before you repair it.
- Framing material: At times, the damage in the screen might be due to the framing material. If the window frame has lost its shape or is damaging the other parts, you’ll have to replace it. Wood frame window screens tend to shrink and vinyl or metal frames can warp. Both conditions will affect the screen jolts, which can indicate it’s time for a replacement.
Window Screen Replacement
After examining the condition of the window screen and deciding to replace it, follow these simple steps:
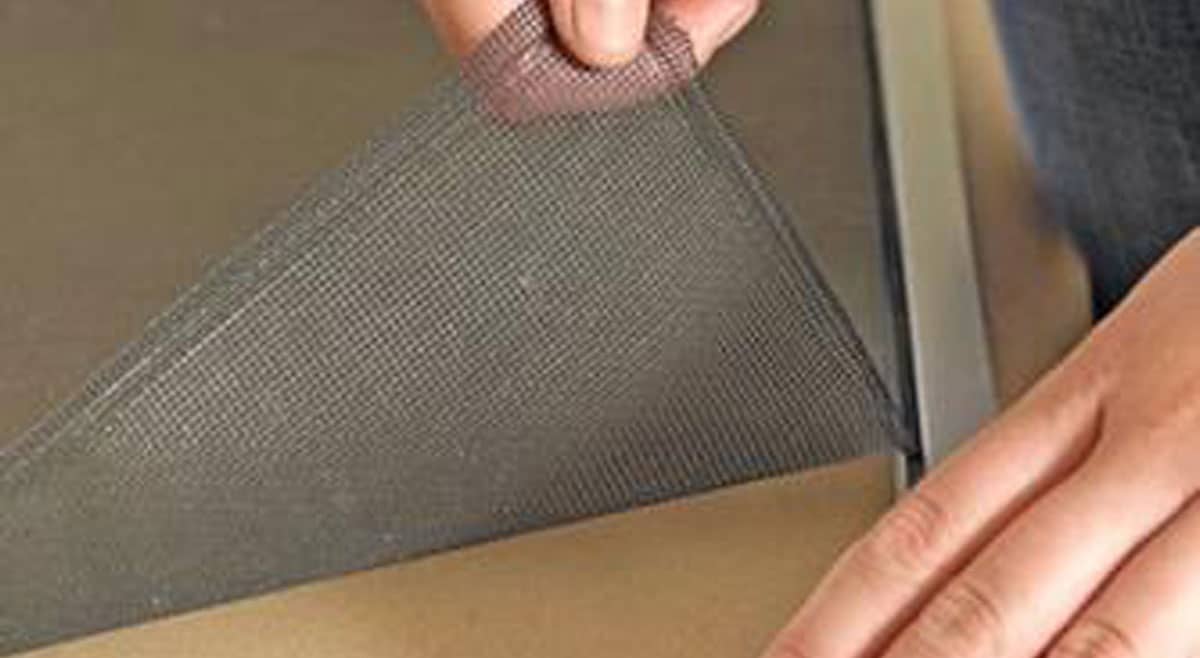
1. Remove the screen: Screens are put in place with a spline that is place around the premier of the frame. Use a screwdriver or any sharp object to lift the spline out in order to remove the screen.
 Source: Lowe’s
2. Size the new material: After placing the frame on a flat surface, measure the size of the screening material needed to cover the frame. Ensure that you add two inches extra and not cut equal to the exact size of the frame.
3.Position the new screen: Put the new screen over the frame, it should overlap the frame from all four sides as we had left two inches extra while cutting the screen. Now, pull the screening taut and clamp to the top and bottom of the frame.
4.Insert a new spline: With the help of the convex wheel of a rolling tool, push the screen into the frame channel. Start from any of the corners and continue to complete the entire perimeter while ensuring the material is stretched. Finally, use the concave side of the rolling tool to insert the new spline. Once the screen is ready, it can be installed back using a utility knife.
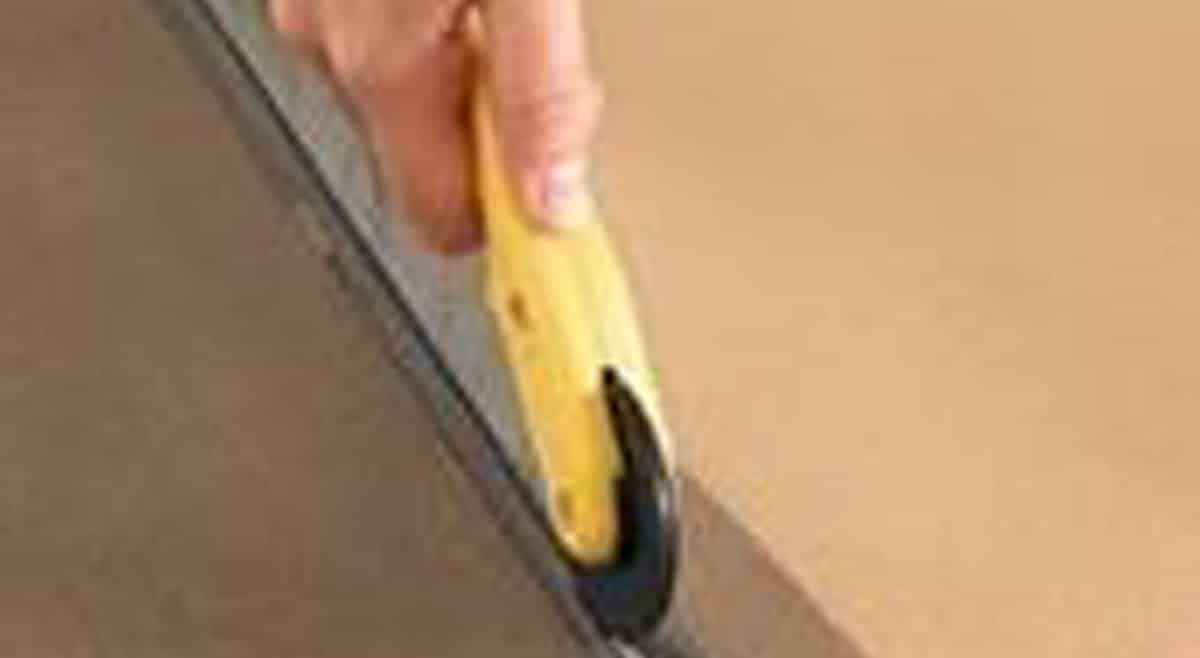 Source: Lowe’s
Buying New Screened Windows
Purchasing a custom-sized screened window has never been easier since Window Liquidators has started shipping windows directly to the customer’s doorstep across the USA. With reputable manufacturing partners like Crystal Windows and JELD-WEN, Window Liquidators provide the best range of pocket-friendly options to choose from without compromising with the quality.
When you are selecting the window style and colors, you can also select what type of screen you need. Whether you purchase a replacement window or a new construction window, screen options are available for both types. Generally, we provide fiberglass half screens but, if you prefer, you can also select the full-screen options from the ‘Add Window Upgrades’ feature on the site.


